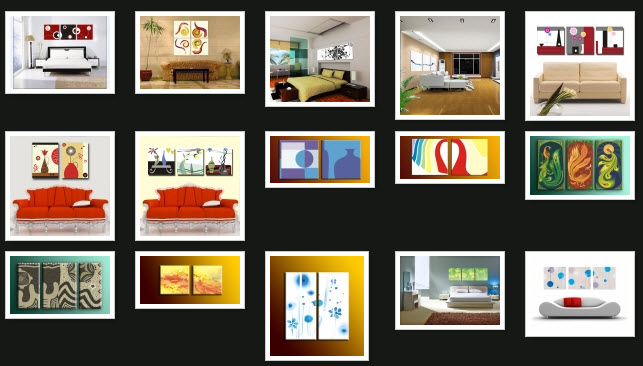
After installed Joomla in our website, the first thing we need to do is finding all the modules that required to install. At here I suggested using Simple Image Gallery, this plugin will able to let the user display the images in thumbnail size. Following shows the steps and the way implement the Simple Image Gallery into your Joomla website

- Go to Joomlaworks Simple Image Gallery official website to download the file. (You also can find the documentation at the link too)
- Go to Extensions > Install / Uninstalls, click the Browse button and locate your .zip file downloaded from Joomlaworks Simple Image Gallery page. (eg plg_jw_simpleImageGallery-v2.1_j1.5-1.6.zip)
- Click upload File & Install to install the plugin.
- Go to Extensions > Plugin Manager, Enable the "SImple Image Gallery Plugin" and click the Edit button at the top right corner.
- Inside Plugin field, enter the image thumbnail size displayed width and height in the parameters field. Here I set the Image Quality to 100% and the rest I leave it as default.
- Now, create a folder (i named it A), put all your image into it, and upload the folder from your computer to your joomla's website image stories folder, so after upload it will be located at images/stories folder. (eg images/stories/A)
- Open an article and find a place to put all your image in. Type in {gallery}foldername{/gallery} to put the images in thumbnail sizes, in my case is {gallery}A{/gallery}
- Save the article, type in the page URL, now you are able to view the image gallery in thumbnail size, such as the page below from my web gallery site.
Exabytes - Your Excellent Hosting Partner!


No comments:
Post a Comment